 Credit

If you’re working on a more general idea, bringing it to fruition with fluid, frame-by-frame animation or cartoon storytelling, picking the right program for animation is crucial. Professional animation, content creator, or just starting to animate, animation software is very accessible, and it’s now possible to produce professional animations with tools that are uncomplicated to use. PixelFox knows what the digital animation creative life is like and has decided to unite some of the best animation software out there. With its help, everyone can experience that as well. In this article, we are going to list the best animation software made for our users. This software not only makes the animation part easy, but it also packs a ton of powerful features.
Why Use Animation Software Right?
Big studios no longer hold a monopoly on animation. With the right tools, you don’t have to be a corporation to craft your universe of adverporn: to make characters move, have compelling stories, or their a visual language. But not all tools are created equal. Some are for beginners and others for professionals who want more control over layers, rigging, and effects. Whether you’re after a world-building simulator, a 2D engine, a 2D timeline animation package, or a 2D shader-based system, the software listed here offers options for a range of uses, from simpler and more straightforward animations to complex and more advanced palette-based animations.
Create Cartoons and Animations with the Best Tools
Here’s a list of the top cartoon maker tools and software you can easily explore that keep in mind your skills and what you want to accomplish creatively:
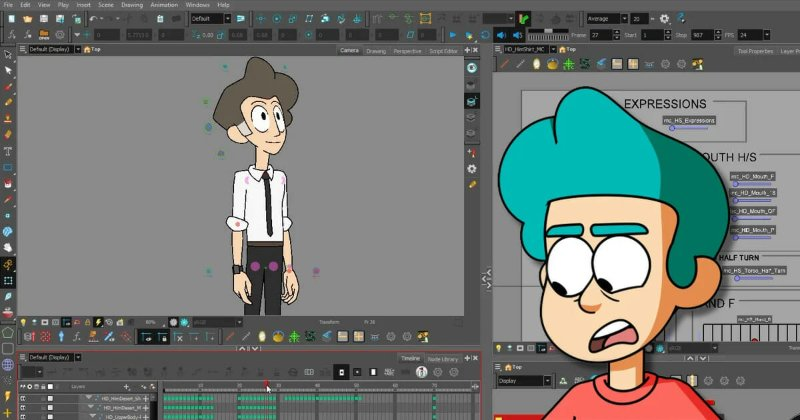
Toon Boom Harmony – The industry standard for 2D animation. Perfect for detailed frame-by-frame work.
OpenToonz – Free and open-source software used by Studio Ghibli. Great for anime creators.
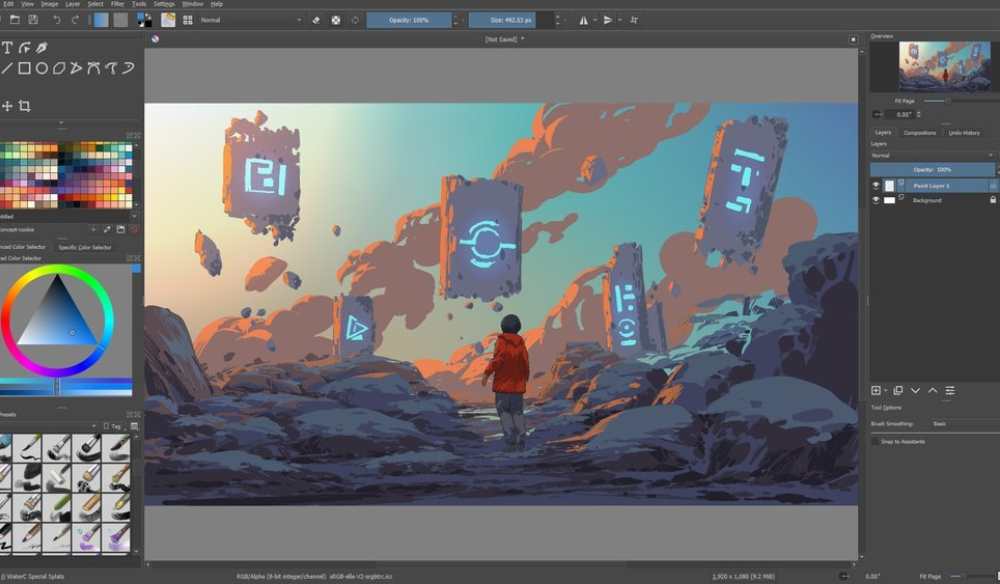
Blender (Grease Pencil) – 3d oriented, but the 2D animation system is ridiculous.
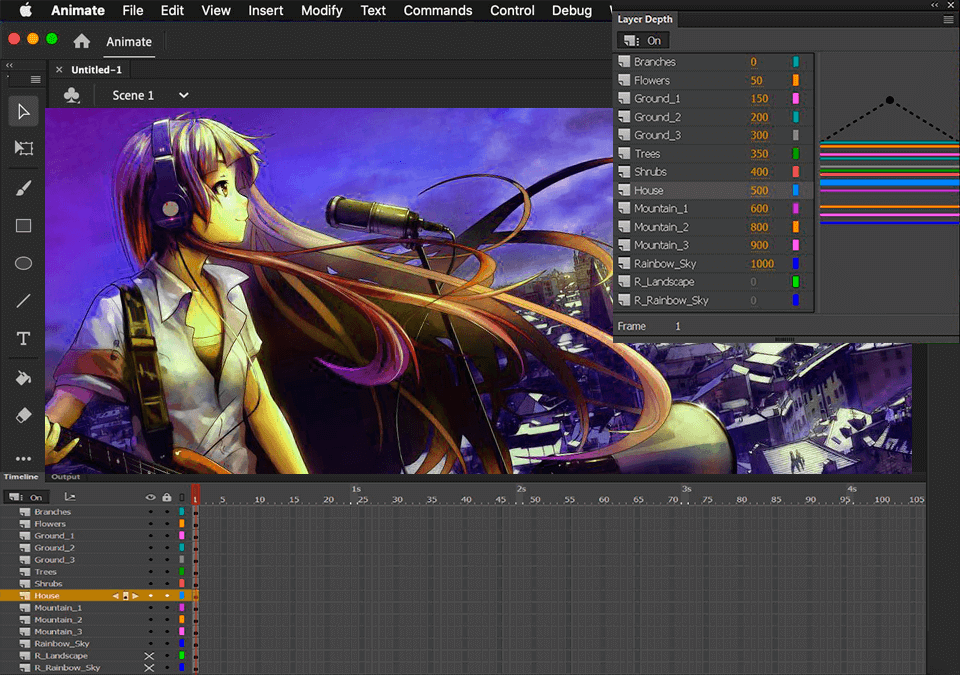
Adobe Animate – Popular for web-based animations, interactive design, and cartoon-style output.
Pencil2D – Lightweight and beginner-friendly for those looking to make hand-drawn animations.
Cartoon Animator 5 – Face tracking, character templates, and motion capture are some of its highlights.
Such tools can be the raw material for YouTube cartoons, hobbyist projects, explainer videos, or, in the right hands, professional TV animation.
How to Choose Cartoon Building Software
Things to look into when you select cartoon building software:
UI: Is it easy for beginners or hard for pros?
Capability: Does it feature rigging, tweening, onion skinning, or real-time playback?
Output format: Is it possible to save as HD, GIF, or transparent video?
Price: Free, subscription, or single purchase?
Community & Tutorials: Great Mashups make learning faster.
Also, make sure it matches your creative ambitions, be it anime, 2D shorts, or branding-focused motion graphics.
Create Your Animations with PixelFox
We don’t provide full animation software (yet!, but we have you covered.) PixelFox is the online fix for all your animation visuals that need buffing and shining. You can optimize your workflow with our AI-based platform:
Clean up Backs in Frame Sequences
Remove unwanted objects from animated scenes
Use AI inpaint to repair or improve character expressions or background
Whether you're working on your frames or creating social-ready previews of your animation, PixelFox goes the extra mile to bring what you see in your mind’s eye to reality.
Final Thoughts:
There’s never been a better time for the world of animation. With some awesome animating software to hand and the proper tools in your creative kit bag, such as the PixelFox, you’ll be simplifying all your stories with powerful characters, seamless scene changes, and expressive storytelling in no time! Whether you’re venturing into anime, cartoons, or short-form video, there’s an animation software tool built for you.