 Credit

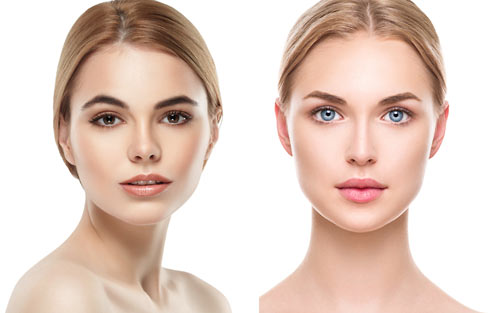
Blending and mixing of faces in Photoshop is indeed a super tool that can help you to compose realistic compositing, one-of-a-kind, or even fun mashups. Be it either you wish to merge celebrity appearances, create concept optimization, or simply play with editing art pieces, Photoshop provides an endless array of tools that help to perfect the desired faultless outcomes.
You will find in this manual how to seamlessly combine faces in Photoshop step by step, ideas, professional tips, and what tools to include to complete a professional look.
Why Blend Multiple Faces in Photoshop?
Now, before we get down into the details of the process, it is probably important to know the reason why face blending is so popular with the designer, the photographer, and the digital artist:
Creative Portraits: Using the interest of other persons, make up a new face.
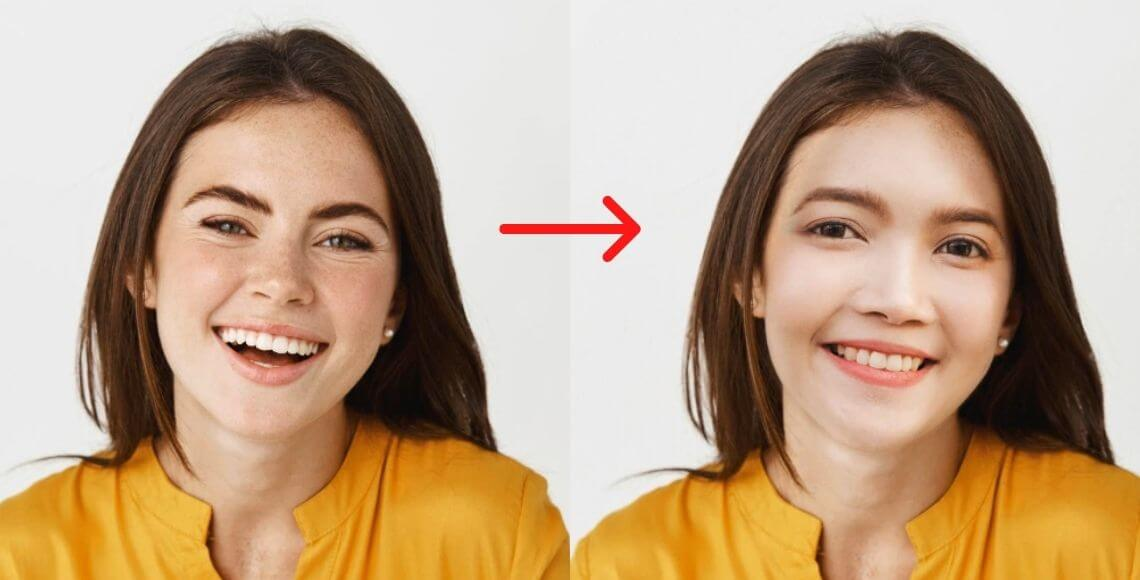
Entertainment: Mix faces of friends to edit or social media to produce a funny picture.
Professional Retouching: Smooth skin, reshape eyes and facial features to create advertising and beauty work, as well as concept art.
Art Projects: Combine a variety of facial structures to create a fantasy character or surreal portraits.
Face blending is both an art and a science—precision and creativity are key!
Tools You Need for Face Merging in Photoshop
Before you proceed with the steps of blending faces in Photoshop, ensure that you are conversant with the following tools:
Move Tool (V): For positioning and aligning images.
Layer Masks: For non-destructive blending.
Brush Tool (B): To blend edges smoothly.
Match Color (Image > Adjustments): For skin tone correction.
Liquify Tool (Filter > Liquify): For adjusting facial structure.
Step-by-Step Guide: How to Merge Faces in Photoshop
Step 1: Prepare Your Images
Select the images that are related using the same lighting, skin tones, and angles (high-resolution).
Open both images in Photoshop.
Drop one of the images into the other document, leaving the two faces in separate layers.
Tip: Rename your layers (e.g., “Base Face” and “Overlay Face”) to stay organized.
Step 2: Align the Faces
Reduce the opacity of the top layer to about 50 per cent so as to see the two sides.
Select the Move Tool (V) and drag the overlay face into position.
Use Edit > Free Transform (Ctrl+T) to resize and rotate until the eyes, nose, and mouth align with the base face.
Press Enter to confirm the transformation.
Step 3: Add a Layer Mask
Having chosen the top layer, press the Add Layer Mask icon located in the Layers tab.
This will also enable you to press parts of the overlay away, as well as expose them without removing them.
Step 4: Blend the Faces Using a Soft Brush
Select the Brush Tool (B) and set it to Soft Round with low hardness.
Make sure your mask is active (not the image thumbnail).
Part of the overlay face should be obscured and displayed by using black and white colors, respectively.
Tint the edges of the overlay face around and make it merge with the bottom face in a natural manner.
Pro Tip: Adjust the brush opacity (20-50%) for a smoother transition.
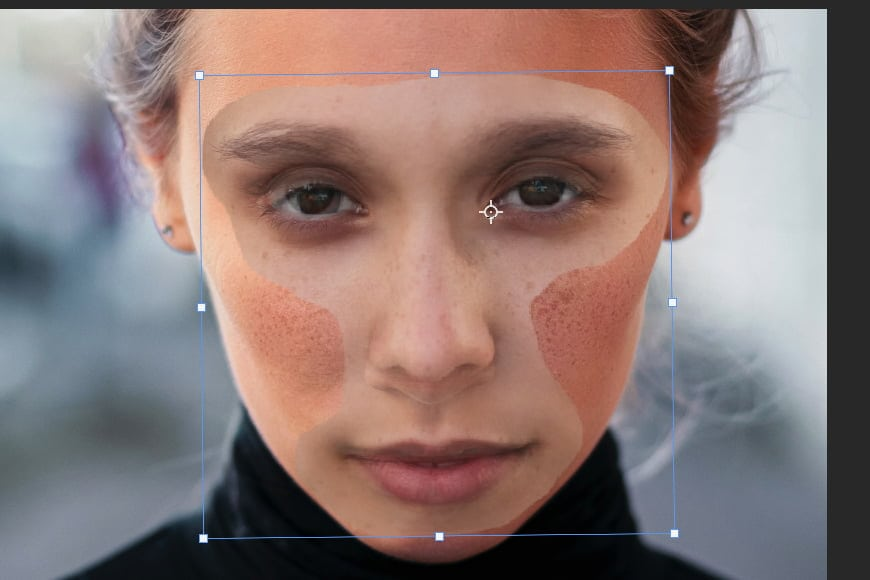
Step 5: Match Skin Tones
Go to Image > Adjustments > Match Color and select the base image as the source.
Adjust Luminance and Color Intensity to match skin tones.
Alternatively, use Hue/Saturation (Ctrl+U) or Curves (Ctrl+M) for manual adjustments.
Step 6: Retouch and Finalize
Use the Clone Stamp Tool (S) or Healing Brush Tool (J) to fix imperfections.
Use Liquify (Filter > Liquify) to adjust facial symmetry if needed.
Merge the layers (Ctrl+E) when you’re satisfied.
Save your work in PSD format (for editing later) and JPEG (for sharing).
Pro Tips for Multi-Face Blending
Stream: Layer mask, not eraser- it allows you to go back to the edit.
Monitor the directions of the light and its shadows to make it realistic.
Whenever making close-ups of fine detail, such as around the lips and the eyes, zoom in.
Use low opacity brushes for smooth, seamless blending.
Best Photoshop Tools for Face Blending
Layer Mask: Essential for non-destructive editing.
Soft Brush: For smooth blending.
Match Color: To make skin tones consistent.
Liquify: For subtle facial structure adjustments.
Common Mistakes to Avoid
Using images with drastically different lighting.
Too much mixing makes the face appear blurry or unnatural.
Ignoring skin tone differences—always color-correct!
Final Thoughts
It is the skill that every photo editor or digital artist has to learn a great deal about multi-face blending using Photoshop. Using the correct methods and with a bit of patience, you can produce professional-looking composites that are just breathtaking and look real.
Start practicing today—and soon, you’ll be blending faces in Photoshop like a pro!
FAQ:
Q1: Is it possible to join faces in Photoshop and not lose quality?
Yes! Use photographs that are of high resolution and do not resize a lot.
Q2: Is there a shortcut for blending faces?
Well, no, it does not, because blending the masking and adjustments has to be done manually to give a natural outcome.
Q3: Can I do this in Photoshop Elements?
Yes, but the tools can be less usable than the whole of Photoshop.