 Credit

Image manipulation sits at the center of modern visual work. Designers, photographers, and marketers use it every day. You might use image manipulation to clean a product photo, to blend two scenes, or to create a surreal photo manipulation that tells a story. When you do it well, a manipulation picture looks natural, clear, and honest. When you ignore the rules, it breaks trust. This guide explains what image manipulation is, how to do it right, which tools help, and how to stay ethical.
What image manipulation means (and how it differs from simple edits)
Image manipulation is the transformation or alteration of a photograph or digital image. It goes beyond a simple crop or exposure tweak. It includes retouching skin, removing objects, changing skies, compositing subjects, and building new scenes from many files. It can be subtle or bold. In many cases, people also call it photo manipulation.
The key is intent and transparency. If you make a product cleaner by removing dust, that is fine. If you change a news photo to add or remove a person, that can be misleading. Your goal guides your process. So set your goal first. Then choose the tools and steps that support that goal.
A short history of photo manipulation
Photo manipulation is as old as photography. In the 19th century, artists painted and inked prints, scratched Polaroids, and used double exposure in the camera. Darkroom tools like dodging and burning shaped many classic images. Ansel Adams used those methods to raise or lower parts of a print so the eye moved to the right place.
Composites are not new either. Early political images spliced faces and bodies. A well-known 1860 portrait of Abraham Lincoln used another man’s body. You can read more in the Photograph Manipulation overview from Wikipedia, which traces techniques from glass plates to today’s software (external source: https://en.wikipedia.org/wiki/Photograph_manipulation).
Ethics and trust: where the lines are
Good visuals help people see clearly. In journalism and research, you must not mislead. The National Press Photographers Association (NPPA) says, “Editing should maintain the integrity of the photographic images’ content and context” and warns against changes that mislead viewers (external source: https://nppa.org/code-ethics).
The Proceedings of the National Academy of Sciences (PNAS) sets similar rules for scientific papers. Do not enhance, obscure, move, remove, or introduce specific features. If you combine parts from different sources, you must show that clearly and say so in the figure legend (external source: https://www.pnas.org/author-center/editorial-and-journal-policies#image-integrity).
The U.S. Office of Research Integrity has reported that a large share of research misconduct cases involved image manipulation. One summary notes that 67% of their closed cases from 2011–2015 involved images. This shows how often mistakes can happen when people push images too far (external summary: Oklahoma State University Library page on Image Manipulation, which cites ORI guidance: https://info.library.okstate.edu/ethics/manipulation).
If you work in news, research, or other trust-heavy fields, keep raw files, keep notes, and disclose your process when needed. When in doubt, do not make a change that alters meaning.
Common uses of image manipulation
People use photo manipulation in many honest and practical ways:
- Commercial and e‑commerce images: remove dust, fix color, align perspective, and show true product details.
- Editorial and feature work: build composite illustrations for covers and long features (but label them as illustrations).
- Creative art: surreal composites, dreamlike scenes, or double exposures that break the rules of physics yet look believable.
- Social media: quick retouching, filters, and style for brand identity.
- Science visualization: color mapping of non-visible wavelengths (such as infrared) to visible colors so people can see patterns in data. Space telescope images often map wavelengths to red, green, and blue to show structure. The transformation should be documented.
The rise of deepfakes adds risk. Machine-generated faces and voices can look real and spread fast. If you work in news or public information, verify sources and consider disclosure. For background on deepfakes, see the deepfake entry on Wikipedia (external source: https://en.wikipedia.org/wiki/Deepfake).
What makes a manipulation picture look real
A believable manipulation picture follows the rules of photography, even when the scene is unreal. The most important rules are simple:
- Match perspective: The camera height and angle must match across elements. If the subject is shot from above and the background is shot from below, the viewer will feel the mismatch.
- Match lighting: Check the direction, quality, and color of light. Hard sun makes crisp shadows. Fog makes soft shadows. Match the darkest values first, then match highlights.
- Match color: Push images to the same color temperature and tint. Then fine-tune saturation so nothing pops out by accident.
- Match depth cues: Far objects have less contrast and less saturation. Add haze to the distance. Keep nearby elements sharp and contrasty.
- Add the right shadows: Paint contact shadows where feet meet the ground. Paint ambient shadows under objects and in creases. Shadows make objects sit in the scene.
Adobe’s photo manipulation guidance suggests you align perspective first, then match lighting from darkest to brightest, and then blend shadows. These simple steps go a long way (external source: Adobe Photoshop photo manipulation article: https://www.adobe.com/products/photoshop/photo-manipulation.html).
A simple, reliable workflow for image manipulation
Work non‑destructively and stay organized. This keeps your options open and protects your files.
- Plan the idea: Write down what you want the image to say. Sketch a small map. Decide what you must show and what you can hide.
- Source and license: Use your own photos, licensed stock, or public-domain media. Check usage rights before you start.
- Match resolution: Use images with enough pixels. Avoid scaling a small image up to a huge print. For print, aim for 300 ppi at the final size. For web, plan by pixel dimensions (for example, 1920×1080).
- Color space and bit depth: Work in sRGB for web or Adobe RGB for print workflows that support it. A 16-bit workflow helps when you push tones hard.
- Layers and masks: Place each element on its own layer. Use layer masks instead of the eraser. This lets you fix edges later.
- Smart objects: Convert placed elements to smart objects. Then you can transform and apply filters without damage.
- Adjustment layers: Use Curves, Levels, and Color Balance as adjustment layers. Clip them to target layers. This keeps global grades separate from local fixes.
- Save and version: Keep a layered master file (PSD, TIFF, or XCF). Save versions at key milestones. Keep your raw files safe.
- Tablet and stylus: A tablet helps with masks and brush work. It saves time and improves accuracy.
The step‑by‑step blueprint: from blank canvas to composite
Use this blueprint to build a clean, realistic composite. It scales from simple to complex scenes.
1) Build the base
Pick the background first. Fix exposure and white balance so midtones are neutral. Remove distractions. If you plan haze or fog, grade the background now because it sets the mood.
2) Place the subject
Cut out the subject with a clean selection. You can use selection tools, edge refine, or AI-based cutouts. Place the subject in the scene. Convert it to a smart object. Add a layer mask and refine hair and edges.
3) Align perspective and scale
Check vanishing lines. Match the camera height. Scale the subject so the horizon lines up. If the scene has a clear ground plane, make sure feet sit at a believable distance.
4) Match lighting
Drop a Curves adjustment above the subject. Clip it to the subject. First, pull down the shadows so the darkest parts match the background. Then set midtones. Then set highlights. If the subject came from a warm light but the scene is cool, add a Color Balance layer (clipped) and push toward the scene’s hue.
5) Add atmosphere and depth
Fog and haze reduce contrast and saturation with distance. Add a Curves layer to lift shadows where needed. Use a soft brush on the mask to fade far edges. Keep the near plane crisp.
6) Paint shadows
Add contact shadows at the feet and at any contact points. Use a soft round brush on a new layer set to Multiply. Start dark, then lower opacity. Paint ambient shadows under objects. For strong sun, cast a directional shadow with a transformed shape of the subject. Blur the far end of the shadow.
7) Unify color
Add a global grade. A Color Lookup or a Curves layer with a mild S-curve can unify tones. Keep it subtle. Do not crush shadows unless your scene calls for it.
8) Add believable details
Small dust, light reflections, and edge fades sell the blend. Keep details consistent with the light and the lens. Avoid repeating cloned patterns. View at 100%.
9) Sharpen and export
Sharpen last at the final size. For web, export to modern formats and keep file sizes in check. For print, keep a high-resolution copy.
Manipulation picture ideas you can try today
- Double exposure portraits: Blend a person with a city or forest. Keep the subject bright and use a silhouette mask for the overlay.
- Sky replacement: Match perspective and horizon lines. Then grade both parts so they share the same temperature and contrast.
- Surreal composites: Put a whale in the sky or a city in a teacup. Use consistent shadows and haze so the scene feels real.
- Vintage photo restoration: Fix scratches, rebuild missing parts, and colorize black-and-white photos while respecting the original grain and contrast.
Tools that help (paid and free)
You have many options. Pick the right tool for the job and your budget.
- Adobe Photoshop: Industry standard for composites, masks, and color. It supports smart objects, adjustment layers, and 16‑bit workflows (external source: https://www.adobe.com/products/photoshop.html).
- GIMP: Free and open source, with strong layer and mask support and many plugins (external source: https://www.gimp.org/).
- ImageMagick: Powerful command‑line suite for batch processing, format conversion, and scripted pipelines (external source: https://imagemagick.org/).
- Affinity Photo and others: Strong features at a one‑time price. Good for retouching and compositing.
AI saves time when you need speed and scale
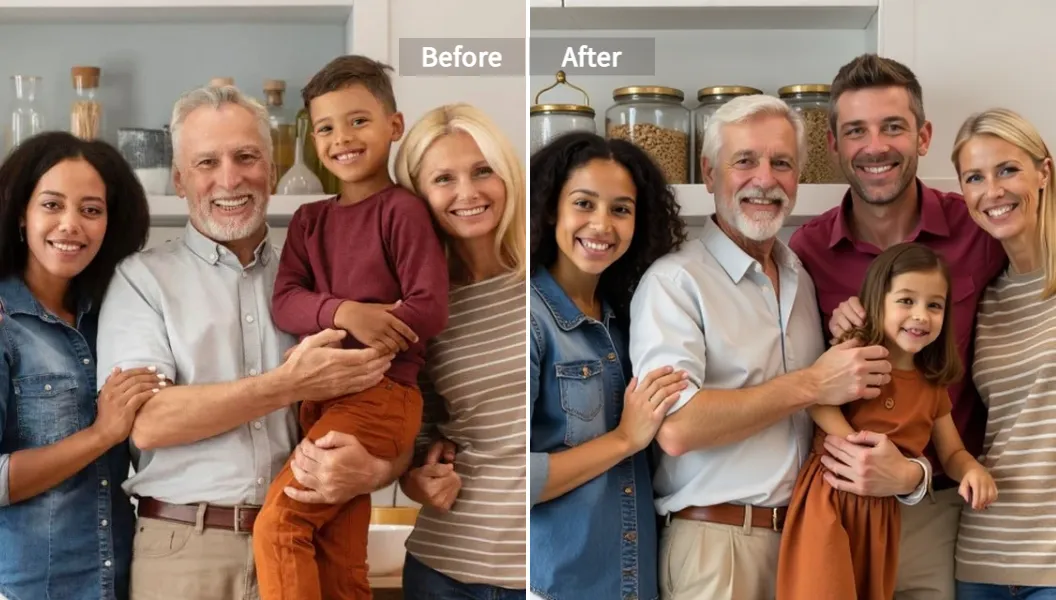
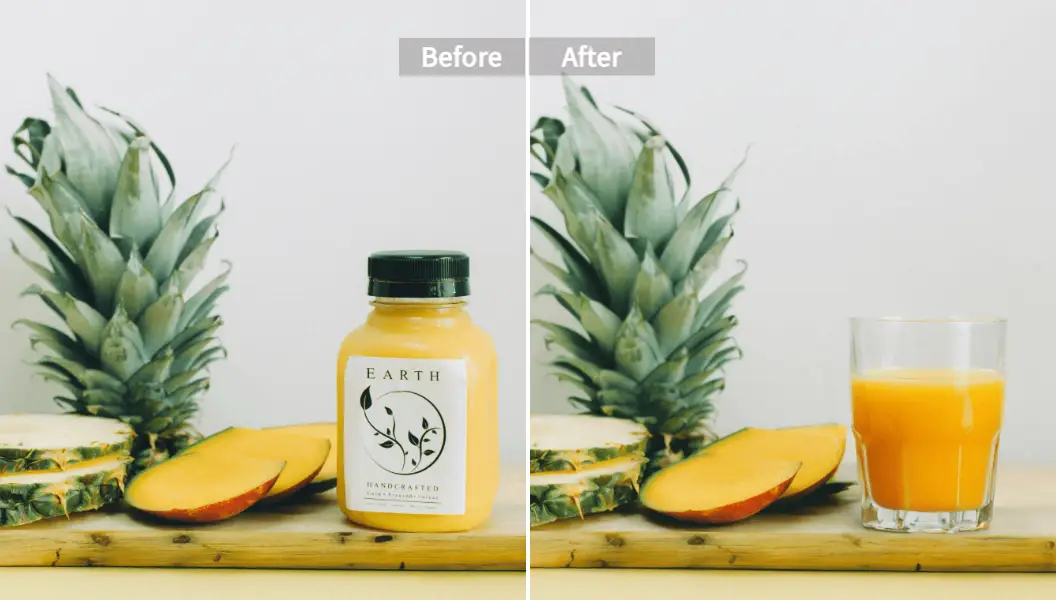
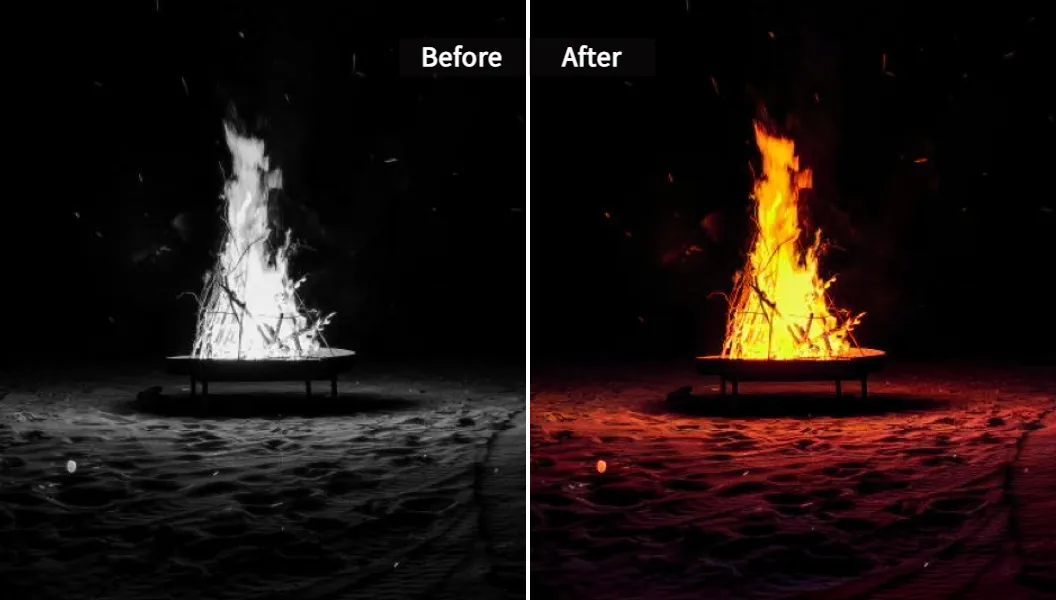
AI can remove unwanted objects, create fresh variations, recolor products, and restore old images in seconds. These tools do the heavy lifting while you focus on ideas and quality.
- Remove objects and fill gaps fast: An AI inpainting tool lets you brush over a wire, a trash can, or a logo and replace it with clean, context-aware pixels.
- Generate new takes on a concept: AI Reimagine creates unique image variations of your base idea. This helps you test styles, try different moods, and find a stronger direction.
- Recolor without re‑shooting: An AI image color changer can swap product colors or adjust palettes while keeping natural shading.
Do not forget the ethics. AI is a tool. It still needs human judgment. When accuracy matters, label composites and keep your raw files. And if you train or use models with external data, respect licenses and rights.
Technical best practices that raise quality
- Start big, export small: Work at full resolution. Export at the size you need for the output. Avoid upscaling small sources for large prints.
- Watch edges: Zoom in at 100%. Fix halos and color spill. Refine hair with edge-aware tools. Fade hard edges that should sit in fog or shadow.
- Check for clones: Repeating textures give the edit away. Use different sources. Flip or rotate stamp patterns.
- Calibrate your display: A calibrated monitor helps you judge brightness and color. This matters when matching images shot on different days.
- Manage color space: Use sRGB for the web. Use a wider space like Adobe RGB only when your full pipeline supports it.
- Use masks, not erasers: A mask lets you bring pixels back. It also keeps your file flexible for client changes.
- Keep a log: Track sources and licenses. Note which adjustments you make. In teams, logs save time and protect you.
How to keep image manipulation ethical and legal
Follow this simple checklist:
- Be clear on intent: If your goal is accuracy, do not add or remove key elements. If your goal is art, make sure the audience knows it is an illustration.
- Disclose composites when needed: In journalism and science, say what you did. Use dividing lines for spliced gels and note the process in captions, as journals like PNAS require.
- Keep the originals: Store raw files, untouched scans, and layered masters. Editors may ask for them. Reviewers may require them.
- Avoid body distortion harms: Fashion retouching can set unrealistic expectations. Many brands and medical groups now ask for restraint. Consider labeling images as “retouched” when appropriate.
- Respect copyright: Use images you shot or licensed. Read terms for stock and AI tools. Do not remove watermarks or logos from assets you do not own.
- Follow professional codes: The NPPA code for photojournalists and the image integrity rules from major journals provide strong, clear guidance (external sources: NPPA code: https://nppa.org/code-ethics; PNAS policy: https://www.pnas.org/author-center/editorial-and-journal-policies#image-integrity).
Advanced techniques that lift realism
- Light matching with checks: Place a gray layer set to Color blend mode above your comp. This lets you judge brightness without color. Fix light first, then turn color back on and fine-tune hue and saturation.
- Shadow color: Shadows are not pure gray. They pick up the color of ambient light and the bounce from nearby surfaces. Sample nearby tones. Paint shadows in that hue at low flow.
- Atmospheric layers: Add several haze layers with different strengths. Use a large, soft brush to paint depth. Keep it subtle. Less is more.
- Texture integration: Add a texture layer (dust, grain, or paper) at very low opacity on top of the stack. This helps elements share a common surface feel.
- Non‑destructive dodge and burn: Use a 50% gray layer set to Soft Light. Paint with low‑flow white to dodge and black to burn. This keeps edits reversible.
Quality control before you ship
- Mirror the image: Flip horizontally. Errors jump out when the brain sees a fresh layout.
- Step back: View small to judge composition. View at 100% to judge craft.
- Check skin and fabrics: Watch for plastic skin or crunchy edges. Keep natural texture.
- Print a proof: The page often reveals banding or blocked shadows that the screen hides.
- Add alt text: If the image goes online, write a clear, short description for accessibility.
Troubleshooting common problems
-
The subject still looks “stuck on”
Check perspective lines and horizon. Add a subtle contact shadow. Add a small reflection if the surface is glossy. Slightly blur the subject to match lens softness. -
Colors do not match
Neutralize both images first. Use Curves to align black and white points. Then use Color Balance or Hue/Saturation. For quick parity, put a Solid Color layer above the subject, pick a color from the background, set the blend to Color, lower opacity, and refine with Blend If. -
Edges look harsh
Feather the mask by a pixel or two. Add soft atmospheric paint at the edge on a low‑flow brush. Avoid over‑feathering hair; use edge-aware refinements there. -
The scene feels flat
Add depth cues. Lift shadows in the distance. Lower saturation far away. Add midtone contrast near the camera.
When to use batch and automation
You may need to process hundreds of images: remove backgrounds, convert formats, or apply a grade. Scripts and command‑line tools help here. ImageMagick can resize, convert, and add watermarks in a single command (external source: https://imagemagick.org/). Photoshop Actions or GIMP plug‑ins can also save time. For large sets with similar tasks, automation protects your time and cuts errors.
Credible sources worth bookmarking
- NPPA Code of Ethics for photojournalists (external): https://nppa.org/code-ethics
- PNAS Image Integrity Policy for research (external): https://www.pnas.org/author-center/editorial-and-journal-policies#image-integrity
- Adobe’s overview of photo manipulation techniques (external): https://www.adobe.com/products/photoshop/photo-manipulation.html
- GIMP, a free, cross‑platform editor (external): https://www.gimp.org/
- ImageMagick, for batch and scripted work (external): https://imagemagick.org/
- Background on the long history of photo manipulation (external): https://en.wikipedia.org/wiki/Photograph_manipulation
Why careful image manipulation builds trust and results
Strong images sell ideas. They also carry risk when they cross ethical lines. If you work in news or science, follow the codes and document your process. If you work in art or marketing, keep edits honest and avoid harm. In every field, a careful approach to photo manipulation leads to better craft and better outcomes.
Modern tools make the work faster. AI tools help you remove objects, explore variations, and recolor with speed. They do not replace judgment. You still decide what to show and what to change. You still own the result.
The bottom line
Image manipulation is a craft and a promise. You promise to show what matters and to do no harm. You plan, you match light and color, you paint shadows, and you check your work. You keep your files, and you respect the viewer. When you do that, a manipulation picture can be both persuasive and fair.
If you want to work faster on your next photo manipulation, try an AI‑powered workflow. Remove distractions with an AI inpainting brush. Explore fresh looks with AI Reimagine. Swap product colors with an AI image color changer. Build the habit of clear goals and clean methods. Then your image manipulation will stay sharp, ethical, and effective.