 Credit

Introduction
Today, beauty photo editing applications have altered the game for enhancing beauty in selfies and portraits. From quick blemish removal to cool creative filter effects, apps like YouCam Perfect, Beautify app, and Beauty Camera app help users beautify images more efficiently. This article explores professional-grade beauty editors, particularly YouCam Perfect photo editor and beautifying tools, highlighting features, real‑world applications, and guidance for optimal usage in 2025.
What Is a Beauty Photo Editor
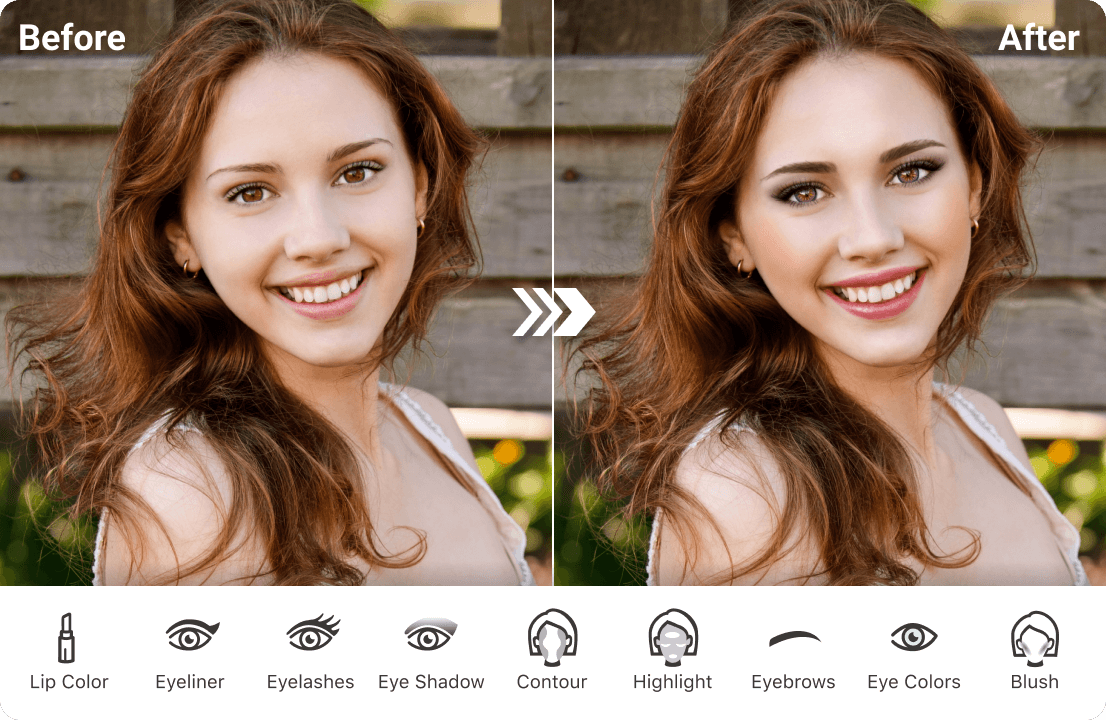
A beauty photo editor is a dedicated application that enhances facial features, clears skin errors, and applies makeup filters to images, typically all using one app. YouCam Perfect gives a natural look to skin smoothing, eyes brightening, teeth whitening, and reshaping techniques. Influencers, for instance, rely on their beauty editor tools to get killer profile pictures placed not only on Instagram but also on LinkedIn.
Exploring YouCam Perfect
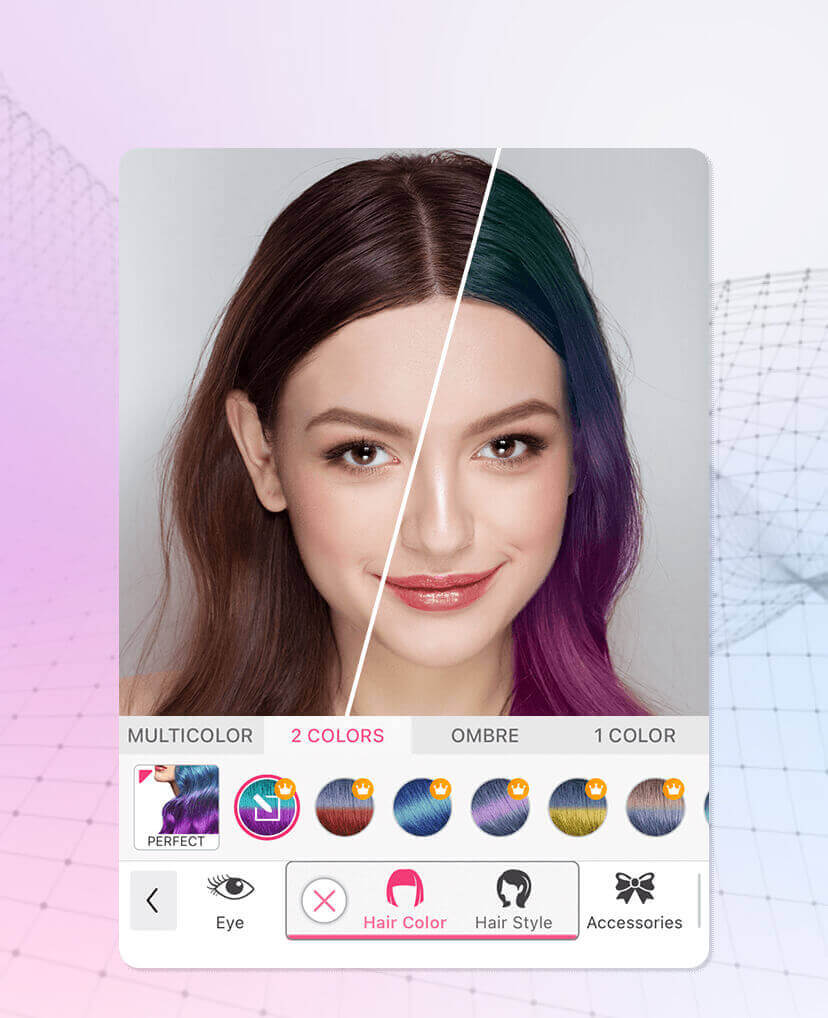
YouCam Perfect, also known as the YouCam app or YouCam Editor, stands out among beauty editors. It offers live beauty filters, retouching tools, and creative effects. Features include:
Skin smoothing and blemish removal
Eye enlargement, teeth whitening, and face slimming
Collage maker, background blur, skin tone adjustment
As a beauty image editor, it caters to both casual users and content creators. In-app tutorials guide new users on retouching workflows. It is frequently referred to as the best selfie app due to its balance of ease and comprehensive feature set.
Other Leading Beauty and Beauty Filters
Apps like the Beautify app, Beauty Camera app, or Beauty Pic Editor offer similar functionalities:
Beautify app: Focuses on automated beautification via single‑click enhancement, including beautify photo and beautify pics modes.
Beauty camera app: Live filters with makeup simulation and adjustments to facial proportions.
Beauty picture editor and beautify image tools allow manual controls over exposure, tone, and clarity, making them ideal for users seeking fine‑tuned control.
These apps often integrate with photo editing download platforms to deliver image enhancement offline. Combined with stylish pic editing, users can experiment with artistic styles while retaining a professional finish.
Real‑World Use Cases and Examples
Influencer Branding
A lifestyle influencer used YouCam Perfect online for free to retouch photos for the aesthetics of her brand's Instagram. Her smooth skin and bright eyes were framed with a consistent filter for aesthetic appeal. Background distractions were also eliminated through the software, lending a touch of polish to her selfies.
E‑commerce Product Images
A small fashion retailer employed a beauty image editor to enhance model photos: smoothing skin, brightening features, and applying beauty filter app effects. The result increased user engagement and click-through rates by 20%.
Event Photography
At a wedding, a photographer used YouCam Perfect photo editor post-shoot to refine group portraits. With beautiful photo tools, skin tone correction, blemish removal, and clarity enhancement were performed, resulting in client-ready pictures in hours.
Choosing the Right Beauty Editor
Key Selection Criteria:
Ease of use
Apps like the YouCam Perfect app and the Beautify app enable intuitive navigation.
Features breadth
Look for skin retouching, reshaping tools, filters, and lighting adjustments.
Fine control
Manual adjustment of intensity avoids the overly artificial airbrushed effect.
Privacy & safety
Reputable developers ensure no watermarking and secure processing.
Cross-platform access
Preference for cross-device apps that operate without download, like YouCam Perfect online.
Workflow Best Practices:
Begin with minimal enhancement, then increase intensity as needed.
Use subtle beauty filter app effects rather than full-face alterations.
Retain natural texture, preserve pores, and hair detail.
Inspection of the amendment before and after justifying the photograph.
Conclusion
Beauty photo editors-specifically YouCam Perfect, beautify app, similar beauty camera apps-have the most powerful tools for beautifying faces in portraits and selfies as if produced in a professional studio. Ranging from smoothing skin to refining the features of the face to using great art filters-all these best selfie app options come together for convenience and quality. Hence, when applied judiciously, it would yield tangible benefits: boosting personal branding, adding showcase significance for e-commerce, and providing office-worthy artistry for individuals and corporates. So, use wisely, apply conservatively, and let your natural beauty speak.
FAQs
1. What is the best free beauty photo editor?
You Cam Perfect online for free is widely regarded as one of the best free beauty editors. It offers skin smoothing, beauty filters, retouching, and collage tools without a watermark.
2. Is YouCam Perfect software available for download on my PC?
YouCam Perfect is a YouCam app for your mobile, and there are PC/Mac compatible versions too. But there are also many features that you can access online.
3. What’s the difference between the Beautify app and Beauty Picture Editor?
While the Beautify app focuses on automated, one-click enhancement, the beauty picture editor often provides finer manual control over tone, clarity, and filters.
4. Do beauty filters degrade image quality?
Quality depends on the app. Reputable tools like Youcam Perfect photo editor preserve high resolution, whereas low‑grade apps may compress images or over-smooth details.
5. Is editing sensitive images safe with beauty editors?
Top-rated apps ensure privacy; for example, YouCam Perfect processes images locally or securely, doesn’t watermark output, and typically allows you to delete images at will.