 Credit

Tired of that dim kitchen selfie doubling as your “professional” headshot? Same. If you typed “photo to professional photo ai free” into Google, you want a fast fix that doesn’t look fake, doesn’t add watermarks the size of billboards, and doesn’t ask for your credit card after one download. You’re in the right place. I’ll show you how to turn a normal photo into a studio-grade headshot using free AI tools, why it works, and how to avoid the common mistakes that scream “AI face.” We’ll use Pixelfox AI as the main professional photo maker, since it’s fast, clean, and gives you control over lighting, color, and fine details. You get a full workflow, pro tricks, and battle-tested comparisons. No fluff. No hype. Just results.
The real reason your headshot matters (and why free AI is enough)
A good headshot builds trust. And trust drives clicks, replies, and conversions. It’s not just a vibe. It’s how people behave online. Nielsen Norman Group has studied trust signals for decades, and faces are one of the strongest cues users use to judge credibility. Clear, natural-looking photos beat overly edited ones because they feel human. You get more attention and less doubt. You look like someone people want to work with.
On job platforms and social sites, this effect compounds. LinkedIn’s team often highlights profile completeness and authentic visuals as key to profile performance. For marketing, Forrester and Gartner both continue to show that content quality and consistency push outcomes. Your headshot is part of that content. It’s small, but it’s everywhere. It sits in your comments, your outreach emails, your proposals, your social profiles. If it looks sharp and professional, you win more first impressions.
So, do you need a $500 studio session? Maybe not. With the right AI edit steps, you can match the look: controlled lighting, clean background, natural skin tones, crisp details. The trick is guardrails. You aim for “polished and real,” not “AI doll.”
From photo to professional photo AI free: the end-to-end plan
We’ll build a simple pipeline and keep it tight:
- Choose the right input photo.
- Fix lighting and color with style transfer.
- Clean the background (remove distractions).
- Subtle retouching (skin, eyes, hair) without plastic gloss.
- Upscale for crisp edges.
- Export and test across platforms.
Pixelfox AI handles this flow well. It’s made for fast, sane edits that don’t wreck the face. You can move from raw selfie to “wow” in minutes. If you want to go deeper or do batch work for a team, you can. Let’s walk it line by line.
The setup: pick a photo that won’t fight you
Start with a photo that helps the AI help you. Use:
- A front-facing shot or a slight angle. Eyes visible. No shades.
- Diffused light. A window works. Overhead lights cast harsh shadows.
- Neutral expression. Think friendly and confident. No duck lips. No “just woke up.”
- Higher resolution if you can. Phone cameras are fine.
Bad input creates bad output. Simple as that.
Use Pixelfox AI to get pro results fast
You can run this with Pixelfox AI’s free tools and keep control over each step.
1) Fix color and lighting with style transfer
Match the tone and mood to a professional reference. This is the single fastest way to jump from “meh” to “studio.” Choose a clean, corporate look or soft portrait style. The magic is to match lighting and color while preserving the original structure.
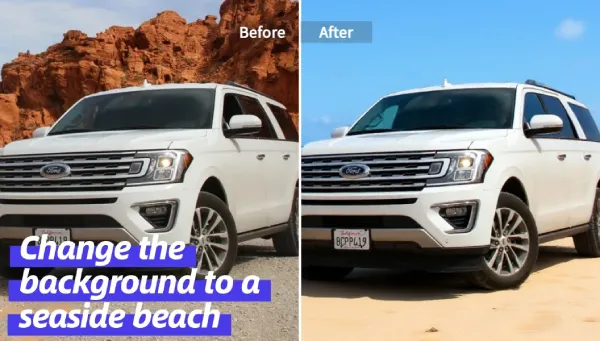
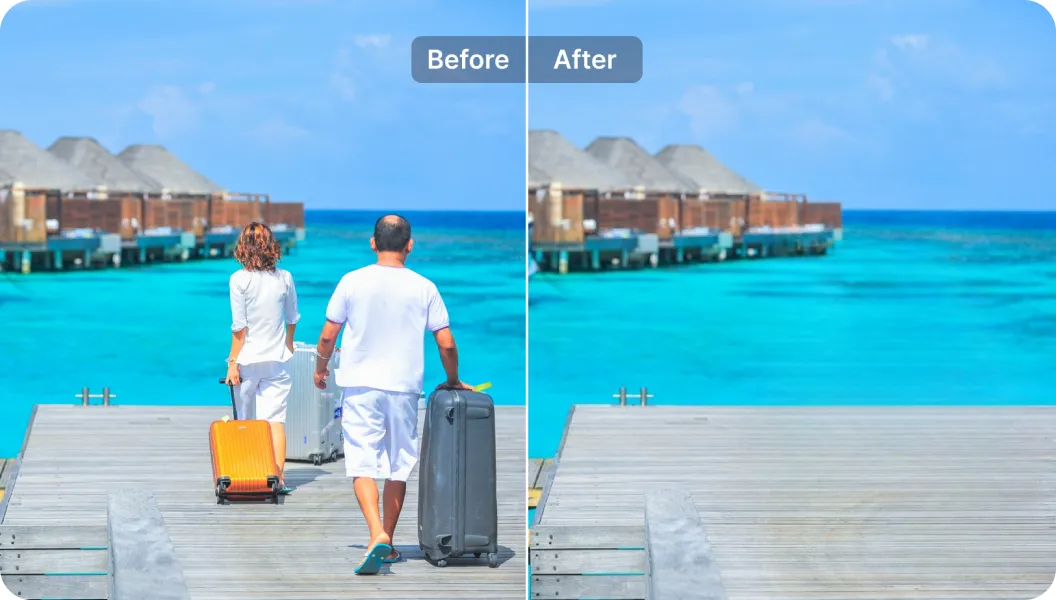
2) Remove background clutter
Your kitchen fridge magnets don’t help your brand. Use an object remover to clean distractions or swap to a neutral background. Aim for light gray, charcoal, or soft off-white. Keep depth, but avoid busy textures.
3) Retouch with a light touch
Soften minor skin noise, sharpen eyes a bit, tame flyaway hair. Keep pores. Keep texture. AI can go plastic fast. Don’t let it. You want true-to-life, not porcelain doll.
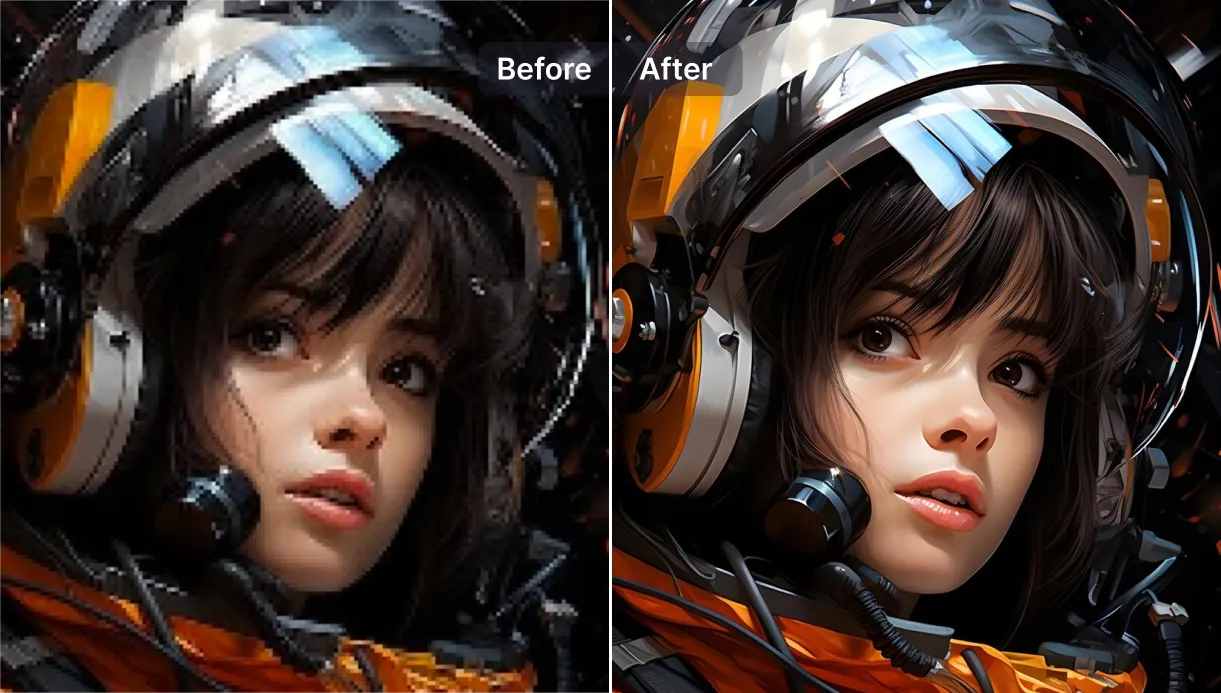
4) Upscale for crisp detail
Upscale your final image to lock in clean edges, sharpen text if any, and keep color gradients smooth. This matters on big screens and in small thumbnails. Pixelfox’s AI Image Upscaler can push resolution up to 4x without making it look fake.
5) Export and test
Save in high resolution. Drop it into your LinkedIn and your website. Check it on mobile. You want crisp edges and natural skin on both small and large displays.
Tip
Pick one reference style and stick to it across your profiles. Consistency builds trust and brand recall. Try a light gray background, soft front light, and a mid-contrast tone. It works for most faces and industries.
Why this works: the “ai enhance headshot” framework
The main issue with free headshot generators is overshoot. They boost skin too much, flatten shadows, and then slap a fake background that looks like a green screen. You want a system that keeps the face intact and updates only color and light. That’s what style transfer does. It takes the color palette and lighting from a reference photo and applies it to your target image while preserving structure. You keep the real face. You only change the mood.
Pixelfox’s approach favors subtlety. It matches tone and exposure. It preserves micro-contrast. It doesn’t smudge. It’s made for portraits, product shots, and social graphics, so it plays nice with many styles.
And yes, it’s free to start. If you want high-res exports or pro settings, you can adjust. But you can get a legit, clean headshot without paying, if you follow the workflow.
Step-by-step: do it in under 10 minutes
I’ll map this to actual tools you can click, so you can move fast.
-
Edit your base photo in the free editor
Open Pixelfox AI at Pixelfox AI. Upload your photo. Do a basic crop and exposure tweak. Keep it simple. You want a tight frame from chest up. Slight headroom. -
Transfer style for color and lighting
Use the style transfer feature and match a clean, professional vibe. Think soft front light, neutral background, medium contrast. It takes one click, then fine-tune with sliders until your skin tone looks natural and the light looks even. -
Remove distractions and clean the background
Run the Object Remover on any clutter behind you. If you want to keep a subtle gradient or a studio-like backdrop, clean edges and avoid hard shadows. -
Retouch the face lightly
Keep pores. Boost eyes slightly. De-noise the skin only where it matters. If the photo is grainy, smooth it at low strength. Done. -
Upscale for crisp detail
Use the AI Image Upscaler to boost resolution up to 4x. This locks in clean edges and keeps your headshot sharp on desktop and mobile. -
Export your final image
Save a high-res PNG or JPG. Upload it to LinkedIn, your portfolio, your website. Check the thumbnail preview. It should pop without looking fake.
Tip
If your source photo is old or black-and-white, colorize it first. The Photo Colorizer can restore color fast. Then run style transfer and background cleanup. It saves time and keeps tones consistent.
Expert-level tricks that make you look studio-ready
These move you from “nice” to “wow.” Use them when you want the extra 10% that feels custom.
-
Build a consistent team look
If you manage a small business or a startup team, create a shared style. One background, one lighting style, one color grade. You build brand trust fast. Generate a batch with the same reference look and clean backgrounds. Upscale all to the same size so they fit your website grid. -
Shape the light, don’t flatten it
Keep soft shadows under the jaw. It adds depth and realism. If your face looks like a flat sticker, back off skin smoothing and reduce exposure. A little shadow is good. It shows shape. -
Control the background texture
Use a faint gradient or soft texture for a more premium feel. Plain white can look harsh on some screens. A soft gray or charcoal background adds class and keeps the face in focus. -
Pre-edit your source photo for smoother AI results
Before you run style transfer, fix any major exposure or composition issues. Crop tight. Remove high noise. AI can lift a good shot; it struggles with a bad one. -
Export two versions
Save a high-res for websites and a smaller version for profiles. This keeps load times fast and thumbnails sharp.
Professional photo maker vs old-school editing
Pixelfox vs Photoshop: speed, skill, and sanity
Photoshop is powerful. It can do almost anything. It can also take hours, and it needs skill. If you enjoy layer masks, dodge-and-burn, and manual color grading, go for it. If you want a clean headshot in 10 minutes, use AI.
-
Speed
Pixelfox gives you one-click style transfer and simple cleanup tools. No layer gymnastics. You get pro-level color and light fast. -
Skill
Photoshop needs training and patience. AI lets beginners get near-pro results without tutorials. -
Consistency
Photoshop depends on the editor. Results vary. AI keeps output consistent across batches and team photos. -
Cost
Photoshop is a subscription. AI tools like Pixelfox have free options that handle common headshot needs.
Bottom line: you can do a lot with manual editing. It’s great for complex art. For headshots and clean, repeatable looks, AI is faster and safer for most users.
Pixelfox vs other online tools: what’s really different
There are plenty of free headshot generators. Many push hard skin smoothing, fake hair gloss, and aggressive background swaps. Some hide high-res behind paywalls and slap watermarks on free exports. They are fine for quick tests. They struggle under close inspection.
Where Pixelfox stands out:
-
Natural look
It preserves structure and micro-contrast. Faces stay human. No plastic skin. -
Fine control
You can adjust color and light to match a reference. You don’t get stuck with a one-size-fits-all filter. -
Clean background tools
The Object Remover is precise and easy. You don’t fight halos or weird edges. -
Sharp output
The AI Image Upscaler is strong. You keep detail at higher resolutions. -
Free workflow
You can get a strong headshot end to end with free options. No surprise paywall during export.
If you need creativity beyond headshots, the AI Image Generator is there for banners, thumbnails, and branded graphics. You build a full content system around your new photo.
Real-world case studies
Case 1: Job seeker to sharper profile in one afternoon
Dana is a junior marketer. She had a grainy selfie on LinkedIn and was getting little traction. She shot a new photo near a window, used Pixelfox’s style transfer to match a clean corporate look, removed some background clutter, and upscaled the final image. She updated her profile and her portfolio site. The result looked polished and natural. She reported faster replies to outreach messages and better engagement on her portfolio pages in the weeks after. It didn’t look AI-made. It looked like a studio shot.
Case 2: Startup team profile cleanup for a new website
A small SaaS team needed consistent headshots for their “About” page. They had photos in mixed lighting and different backgrounds. They ran each shot through color and lighting transfer to match a soft gray studio vibe, cleaned backgrounds with the object remover, and upscaled all images to the same size. The site looked cohesive. The team also used the Image Generator to create banner art in the same tone, so the whole brand felt tight. It took a single afternoon, not a photo shoot.
Common mistakes with “photo to professional photo ai free” and how to fix them
-
Over-smoothing skin
This is the biggest tell. You see plastic cheeks. You lose pores. Fix: back off skin smoothing. Keep texture. Match light first; retouch last. -
Fake backgrounds with hard edges
You see sharp cutouts and halo artifacts. Fix: use a soft gradient or subtle texture and watch edge feathering. Clean distractions rather than hard swapping when you can. -
Wrong lighting balance
Too bright or too flat. Faces lose depth. Fix: preserve soft shadows under the jaw and around the nose. Aim for even front light and moderate contrast. -
Color shift on skin
Skin looks too pink, too green, or too cool. Fix: use style transfer to match a clean neutral tone. Check skin against known good references. -
Low-res exports
Blurry thumbnails are dead on arrival. Fix: upscale to at least 2000 px on the long side. Then save a small version for profiles. -
Busy composition
Background props, random plants, harsh textures. Fix: remove distractions. Keep it simple. Your face is the hero.
Tip
Shoot near a window with a white curtain. This is cheap, easy light. Position the camera at eye level. Keep the background a few feet behind you. You get depth and soft shadows that look expensive.
Pro applications and playful extras
Want to push your skills and content a bit more? Here you go.
-
E-commerce listing photos
Use a similar workflow to create clean product photos with white or soft gray backgrounds. Match color and light across a series. Keep scale consistent. Your shop grid will look premium. -
YouTube cover and thumbnail
Start with your pro headshot. Add branded color bands and clean typography. Use the AI Image Generator to produce background patterns or on-brand scenes that don’t distract from the face. -
Transparent logo overlays
Create a transparent PNG of your logo. Place it at low opacity on your headshot for pitch decks or bio slides. Keep contrast light so it doesn’t steal attention. -
Old photo restoration
If you have older portraits, run them through the Photo Colorizer, then through the style transfer and upscaler. You’ll get a modern, clean look without losing the original character.
What to expect: results, limits, and ethics
AI is fast and powerful. It can fix color, lift shadows, remove clutter, and sharpen edges. It keeps consistency across many photos. It saves time. It also needs care. You want real faces with normal skin texture. You don’t want deceptive edits that change identity. Keep ethics simple: polish the photo, don’t change the person. In a world where trust is fragile, authenticity wins.
Industry groups like Nielsen Norman Group keep reminding us that users spot fakes and over-edits fast. Gartner and Forrester note that AI is mainstream, but brands must protect trust. So you set guardrails. When in doubt, choose less smoothing, more texture, and a consistent style. You get a professional headshot that works hard and stays honest.
FAQ
How do I use a free “photo to professional photo AI” workflow without getting a watermark?
Use a tool that offers free editing and free export for core features. With Pixelfox AI you can edit a photo with style transfer, clean the background, and upscale, then export without giant watermarks on standard outputs. If you need ultra-high-res or special modes, check the plan first.
Why do some free AI headshots look “AI” or fake?
They over-smooth skin, flatten shadows, and swap the background too hard. Faces lose texture and depth. To fix this, control light and color first, keep skin texture, and use soft backgrounds. The style transfer approach helps a lot because it preserves structure.
Can I turn multiple team photos into one consistent brand look?
Yes. Use the same reference style for color and lighting. Clean backgrounds the same way. Upscale all to the same size. The batch looks cohesive and premium on your website and LinkedIn.
What’s the difference between an “ai enhance headshot” and a full portrait retouch?
Headshot enhancement focuses on color, lighting, and minor cleanup. Full retouch can include detailed skin work, hair fixes, and complex background changes. For most users, a light enhance is enough and looks more natural.
How do I pick the right background for a professional photo?
Go simple. Light gray, charcoal, or soft off-white. Avoid patterns. Keep a subtle gradient if you want depth. Busy backdrops distract and can trigger artifact issues during removal.
Can I use this for commercial projects or client headshots?
Yes. The workflow works for freelancers and small teams. Keep edits ethical and realistic. Keep consistency across a series. Check licensing for any stock references you use.
Ready to ship a headshot you’re proud of?
You don’t need a studio to look like you used one. With a smart plan and the right tools, you can go from photo to professional photo AI free in minutes. Keep the face real. Keep the light clean. Keep the background calm. Let AI do the boring parts. You do the final check.
Start now with Pixelfox AI. Clean a background with the Object Remover. Sharpen your details with the AI Image Upscaler. Build branded visuals with the AI Image Generator. Refresh old portraits with the Photo Colorizer. Then drop your new headshot into LinkedIn, your website, and your pitch deck. If your old selfie got you “seen,” your new one gets you “chosen.” 🚀
—
Author note: I’ve spent 10+ years helping brands rank and convert in tough markets. I test tools, I break workflows, and I write guides that actually help. No sponsored fluff. If you have a unique use case, or you want me to tear down your current headshot and suggest a fix, send it. I’ll keep it real.