 Credit

Introduction
An AI movie feature film that has been conceived, generated, or significantly produced through artificial intelligence represents an epochal paradigm shift in film history. AI technologies now perform creative functions previously done by human crews, from scripting to image generation. This article explores the rise of the AI film, its real-world incarnations, benefits and challenges, and its implications for the future of storytelling.
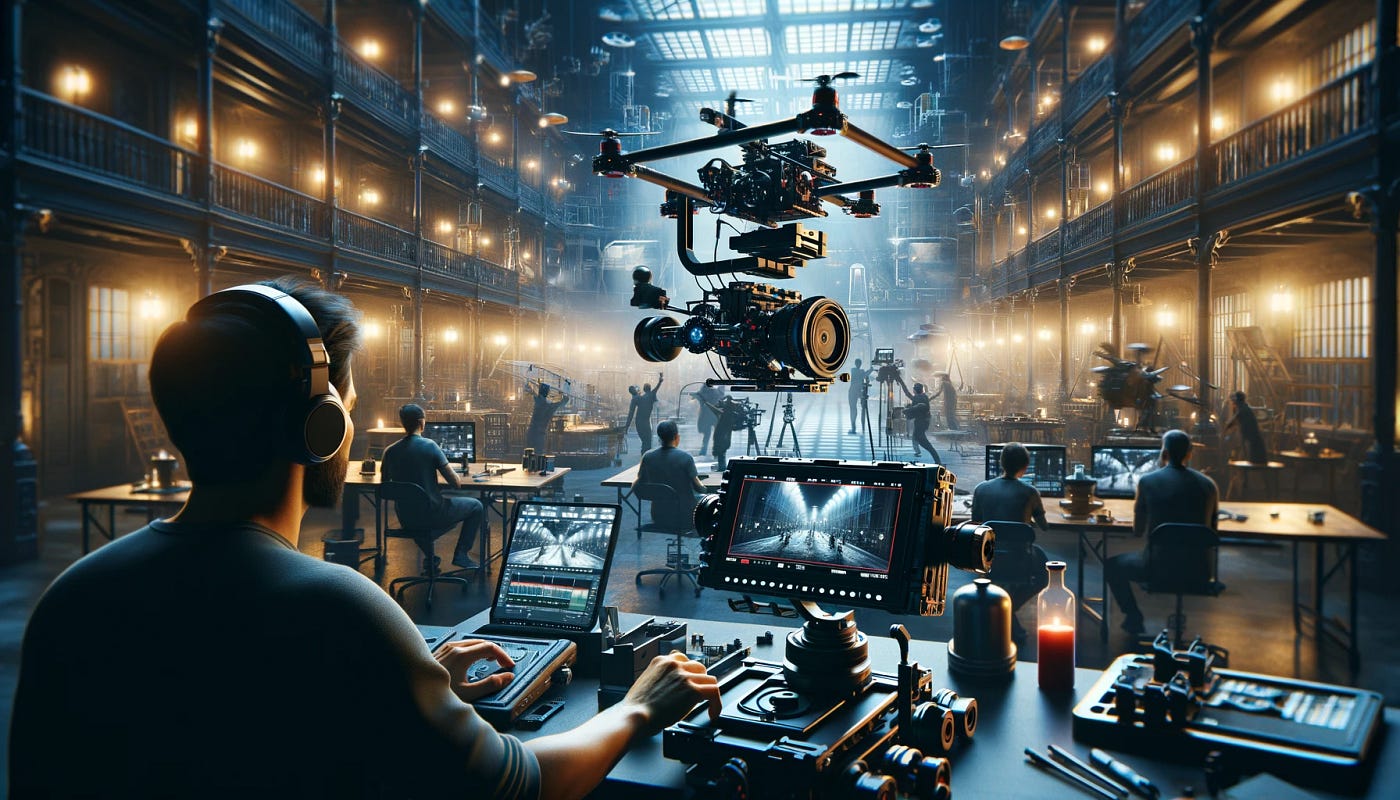
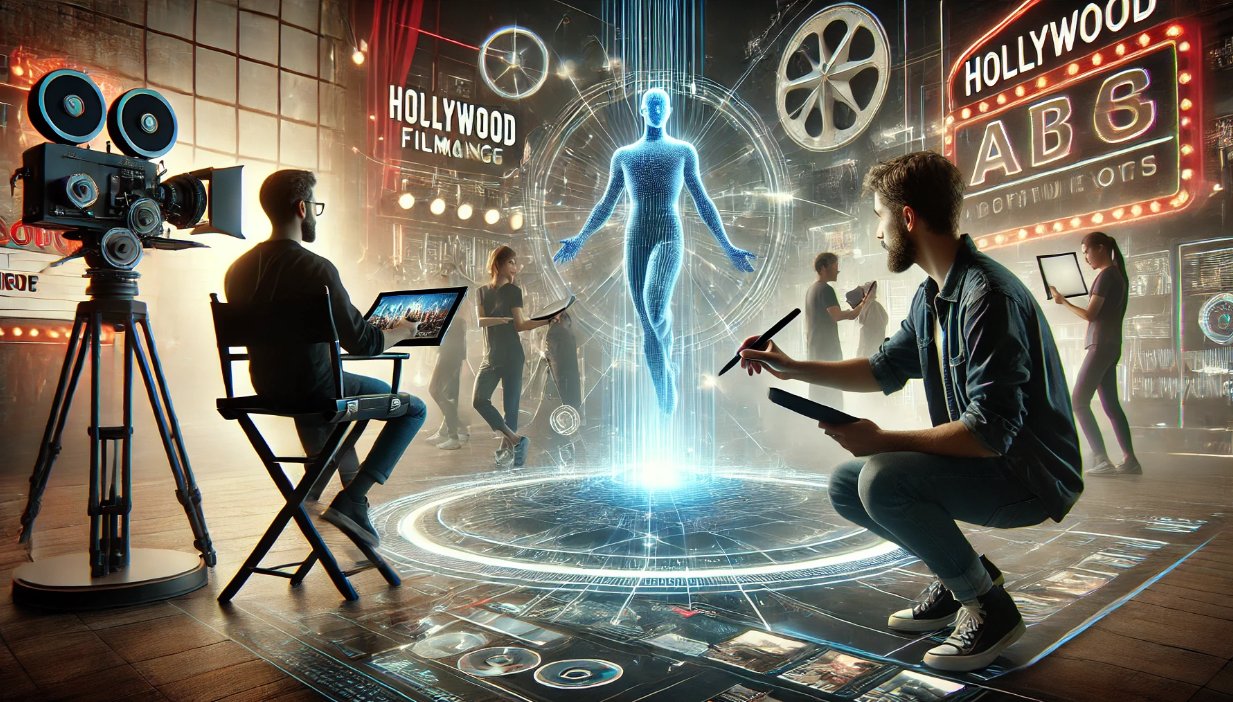
AI Film Production: From Concept to Completion
AI‑Generated Feature Films
In July 2024, DreadClub: Vampire’s Verdict debuted as the first fully AI‑animated feature, with visuals, performances, sound, music, and editing created entirely by AI for just $405. This AI movie exemplifies how small-scale teams can leverage generative models to create narrative works once thought impossible outside major studios.
Evaluating Scripts with Analytics
Not all AI in film is creative; some is analytic. VaultML, an Israeli startup, applies machine learning to screenplay analysis, scanning hundreds of thousands of elements to forecast box office success. While not directly producing AI films, tools like VaultML influence financing decisions and the green‑lighting process.
Emerging Platforms and Festivals Showcasing AI Film
AI Film Festival 2025
Runway’s AI Film Festival (AIFF) highlights cutting-edge innovation in AI filmmaking. In its third annual edition at New York’s Lincoln Center, Total Pixel Space by Jacob Adler won the Grand Prix. This surreal nine‑minute essay explores the infinite “pixel space” of AI imagery, showing how AI film can probe philosophical ideas as well as aesthetic ones.
Studio Adoption of AI
In early 2025, Staircase Studios announced plans to produce 30 AI film features using its proprietary generative tool “ForwardMotion,” capable of delivering near‑studio quality films for under $500,000. Their debut feature, The Woman With Red Hair, exemplifies the model where AI accelerates cost-efficient content creation without sacrificing visual polish.
Benefits and Challenges of AI Movie Production
Cost Efficiency and Accessibility
AI technologies dramatically lower production budgets while enabling independent filmmakers and small companies to enter spaces traditionally dominated by large studios. As seen in DreadClub, an entire feature was executed on a virtually non-existent draw, demonstrating the democratization of film production.
Speed and Creative Iteration
AI tools like ForwardMotion accelerate the creative pipeline, enabling rapid iteration across script, visuals, sound, and editing. This agility enables studios to iterate quickly and refine creative vision at scale.
Ethical & Legal Concerns
Both ethical and legal issues by huge studios, for example, DreamWorks, even embedded legal disclaimers at the end of The Bad Guys 2, explicitly stating that no part of this film should ever be used for AI training or data mining; a direct response, they said, to their fears of unlicensed replicas of human creation. Such stands indicate the tug between creativity and saving intellectual property rights.
Real-World Case Studies
DreadClub: Vampire's Verdict
Directed by Hooroo Jackson and released on Amazon Prime in July 2024, DreadClub earned awards at multiple festivals, including Kraken International and Miami Street Film Festival. Critical reception praised its Gothic romance narrative and the novelty of its AI-based production process.
Total Pixel Space
As an experimental AI film short, Adler’s Total Pixel Space examines the philosophical implications of generative imagery. Its artificially unnerving visuals and voice‑over meditation on “total pixel space” underscore how AI film can engage high‑concept themes.
The Future of AI Film
AI’s increasing capabilities, such as the next generation of video-generative foundation models (e.g., Movie Gen), promise 1080p HD video generation from textual scripts, synchronized audio, and seamless scene transitions. By combining large language models for narrative development and diffusion models for visual synthesis, the next wave of AI films will be more polished, commercially scalable, and narratively sophisticated.
Platforms like Pixelfox.ai are playing a vital role in this transformation by offering advanced AI-powered image and design tools that support visual content creation for filmmakers, animators, and digital storytellers exploring the frontiers of AI movie production.
Conclusion
The emergence of the AI movie is reshaping filmmaking, from ultra‑low‑cost independent features to industry‑wide creative innovation. Real-world examples like DreadClub: Vampire’s Verdict and festival-driven visions such as Total Pixel Space demonstrate the creative potential and philosophical reach of AI‑powered cinema. Over the next few years, with more studios adopting tools like ForwardMotion and court cases establishing new legal frameworks for creativity authored by AI agents, we will be writing not just of a renaissance in artistic expression but also expanded notions of how stories are told.
FAQs
1. What exactly is an AI film (AI movie)?
An AI film is a motion picture produced or significantly created using artificial intelligence tools, covering scriptwriting, visuals, sound, editing, or entire animation. Complete examples exist already, like DreadClub.
2. How does Pixelfox.ai support AI movie creators?
Pixelfox.ai also assists through its AI-powered tools that aid in refining the visual components, creating the assets, and automating the content generation process, making it quite simple for any filmmaker to produce high-grade AI films.
3. What are the moral issues in AI films?
One key concern is copyright and data usage; some studios explicitly prohibit their works from being used to train AI. This “anti‑spawning” stance aims to protect original artistry from exploitation.