 Credit

We all want to look a little better, and your face shape has a big impact on what you see in photos and the mirror. Whether you want to try on a new face shape, enhance your selfies, or see what a cosmetic mod would look like with those new lips you’re considering, it’s now possible without hitting the salon or the doctor’s office, thanks to a new AI tool, PixelFox. In this guide, we will teach you how to change face shape using AI and how to get a better face shape naturally.
Why You Should Consider the Shape of Your Face in Photographs
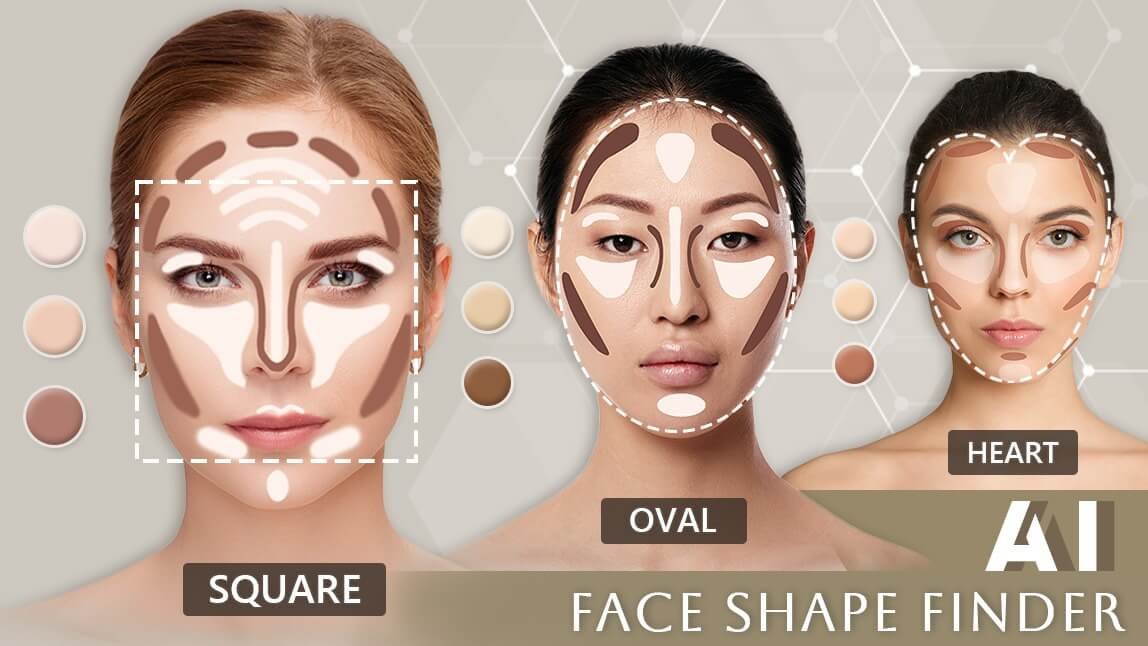
Your face shape affects everything from how you photograph to what hairstyles and makeup suit you. Oval, round, square, heart, or diamond, they all contribute their beauty to the equation. Whether you are making content for social media or profile pictures, or just plain playing around, adjusting your face shape can take your look to the next level in just seconds.
Change Any Face Shape Instantly with PixelFox
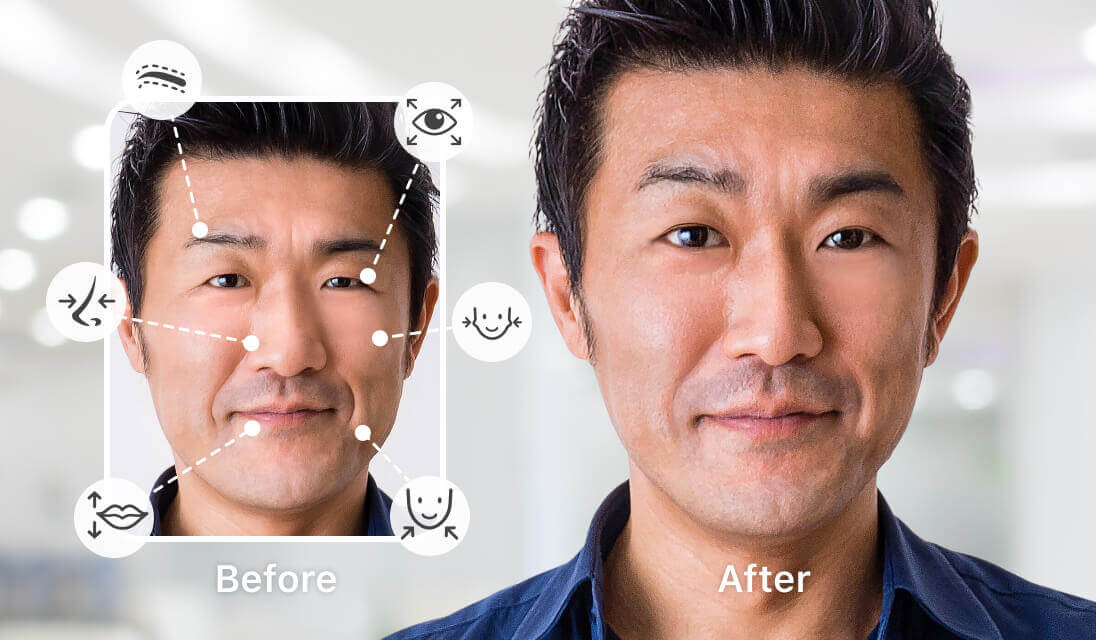
PixelFox is the perfect AI image editing tool to enhance and alter users’ images within seconds through the power of AI. Here’s how you can transform your face shape using PixelFox:
Step-by-Step:
Post your photo to PixelFox’s face editor using the AI.
Using the “Face Shape Adjust ” tool.
Choose among templates such as “slimmer face,” “defined jawline,” or “balanced proportions.”
Make changes and preview before saving.
Download or share your edited image without registering or logging in.
If you’re looking to slim your jawline, lift your cheekbones, or just take the edge off harsh angles, PixelFox does the job quickly and is friendly to beginners.
Best Free AI Face Shape Changer Apps
Besides PixelFox, here are a few other tools that can enhance your selfies:
FaceApp: Apply filters to make a subject look older, make changes to their facial structure, and more.
YouCam Makeup: Realistic contouring and reshaping features are available.
Facetune: You can use manual sliders to change the chin, jaw, and forehead size.
These AI photo transform apps are great for social content, but PixelFox jumps out by giving natural-looking changes and bulk performance online.
Natural Ways to Enhance Your Face Shape
And while AI tools allow you to play around in the digital realm, some IRL changes can improve your face shape IRL over time. Here’s how:
Face Yoga and Exercises
Exercises that can help tone up the muscles in the face and decrease puffiness include jaw clenches, cheek lifts, and tongue stretches.
Healthy Diet and Hydration
Reduce salt and processed foods. By eating right and keeping hydrated, you are going to have less fat on your face.
Hairstyles and Contouring
Strategic haircuts and makeup can also make your face shape a little more or less prominent.
Sleep and Posture
Getting a good night’s sleep and sitting upright can help reduce bloating and improve facial definition.
Why PixelFox Is The Best Option For You
The face shape feature PixelFox is offering in your browser is unheard of in most applications, and you don't even need to download or sign up for a membership. Whether you want to use AI or an unusual style of painting on your pictures with AI art. Check out a different face structure or even inpaint it in a portrait, whatever it is, PixelFox has it: it is easy and precise with AI.
Benefits of Using PixelFox:
100% Free to use
No watermark or ads
No technical skills needed
Natural-looking results
Final Thoughts
Whether it’s something as subtle as a few cosmetic touch-ups or a full-blown head transplant, now you can play around with your face shape everywhere and instantly, thanks to the availability of AI-based tools like PixelFox. Add that to good habits, and you’ll not only have better selfie photos, but life too.
Whether you want to know how to change face shape, wish to get a better face shape, or simply enjoy trying a myriad of new filters, PixelFox offers seamless creative control!