 Credit

You name it: deepfakes have become universal, from effortless face swaps in videos to AI-driven transformations in photos. As platforms like TikTok or YouTube make face swaps mainstream audience entertainment, the conversation around deep fake content, synthetic identities is growing louder, and now dark actors even dive into deepfake nude AI.
This guide will detail what realistic deepfake generators are, where they are going from here, the pros and cons of deploying them, as well as why tools like PixelFox are softening ‘responsible AI face editing’ into a Vivek-friendly POV.
What Is a Realistic Deepfake?
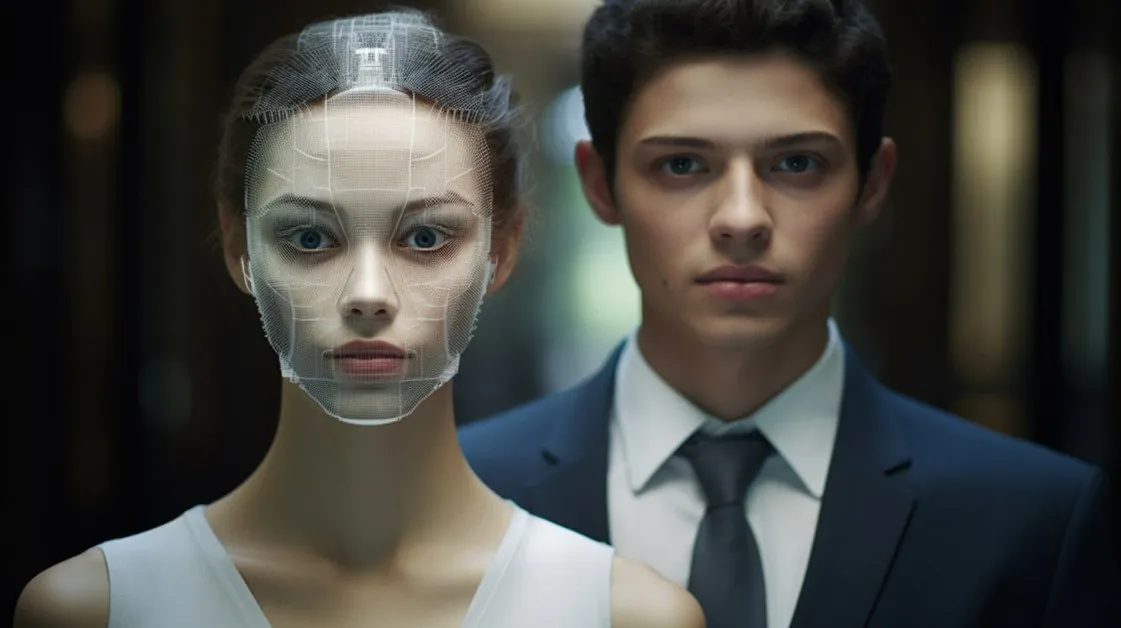
Essentially, a deepfake nude AI is any video, image, or audio file where the underlying media uses AI, especially using methods related to deep learning and neural networks, to manipulate or even create particular content that nearly looks like a real human being. Deepfakes typically combine facial replacement with a video or image, enabling one person's face to be replaced with another in a very realistic way.
These deepfakes utilize a machine learning technique called Generative Adversarial Networks (GANs), which allows near-seamless alterations that were previously only achievable through Hollywood-level staging.
Common Scenarios for Deep Fake Content Tools
Most websites to be deep fake websites have online platforms which provide free and premium tools for users, including;
Face swaps in movies or clips
Comedy and parody content
Celebrity impersonation videos
Games, Social media, Avatar generation
Digital humans for film and movies
With tools like PixelFox, you can upload a face, select the modification of your choice.
PixelFox — AI Deepfake Tools With Ethics Boundary
In the domain of face-editing platforms, PixelFox is a forefront trusted AI Face Editor for Apple IOS that pays significant importance to safety, reality, and ease-of-use.
Here’s what makes PixelFox different:
Free of adult content generation: Lastly, contrary to multiple deep fake nude AI sites, no ethical boundaries have been crossed by using PixelFox.
Both with consent and in a light, non-invasive, fun way to reshape and swap facial features.
It is a web application; no downloads are necessary, everything runs in the browser.
Can upload an image & render it in real-time.
No Technical skills required, easy-to-use Interface
The face privacy is honored, no data remains saved unless you grant access to the same.
At a time when misinformed deepfake use can have deleterious real-world consequences, PixelFox shows that realistic deepfake editing is both responsible and impactful.
THE DARK SIDE OF DEEP FAKE NUDES AI
Having said that, not all tools are created equally. This is the darker side of deepfake technology, deepfake nude AI content. There are tools outside there which can create nude (or porn) pictures or videos from real people's images stolen by anyone, without permission. There are several serious problems arising from this, including:
Cyberbullying and harassment
Revenge porn and non-consensual content
Damaged reputations
Legal consequences
The technology underlying deepfakes is neutral, but its abuse, especially in mature contexts, can be harmful.
Application of Deepfake in Entertainment and the Creative Industry
This is very open to abuse, but realistic deepfake tools are so strikingly powerful creatively. They’re now used in:
Film-making: Make younger or Historical figures
How do we make purchase avatars for marketing?.
Gaming: Character face generation
Educational materials: Interactive video lectures and virtual guides
Discussion Accessibility: Enabling people with speech impairment to produce facial expressions during video calls.
These are some of the examples of top contributions in facial editing to create a new era for content creators using AI, which is both ethical and creative.
The Legal Side of Deepfakes
Deepfakes are not inherently illegal to make, but they are illegal in the case of abuse. Different countries have different laws on the same, but some jurisdictions are introducing laws to criminalize uploading unauthorized content.
As a rule of thumb:
Always use your face, or have it from others who gave you permission
Do not misleadingly impersonate public figures.
Do not touch any tool that is jokingly called a “deep fake nude AI.”
Platforms like PixelFox are based on ethical guidelines.
Final Thoughts
The rate at which deepfake tech is advancing continues to open up new possibilities for creativity, as well as ethical issues. If services do exist for the creeps out there (e.g., the deep fake nude AI), let us not inevitably create technologies like this, but openly support a good-looking, well-rounded face manipulator like PixelFox in making editing faces easy, secure, and respectful pipeline on the internet.
As a content creator, social media enthusiast, or simply wanting to witness the evolution of AI technology, having access to an incredibly realistic deepfake generator similar to PixelFox provides you with invaluable and innovative tools, just not letting it go too far.