 Credit

A static image can be used to convey a still moment, but animation is the tool that makes some still moments unforgettable. Whether it's a simple ticker or flowing water, photo animation software helps to turn static lyrics into captivating visuals.
Modern tools like Pixelfox have made it relatively simple to breathe new life into your static images. If you are an artist, content creator, marketer, or someone who wants their social media post to stand out, picture animation software can truly take your images to the next level without having advanced editing skills.
What Is Photo Animation Software?
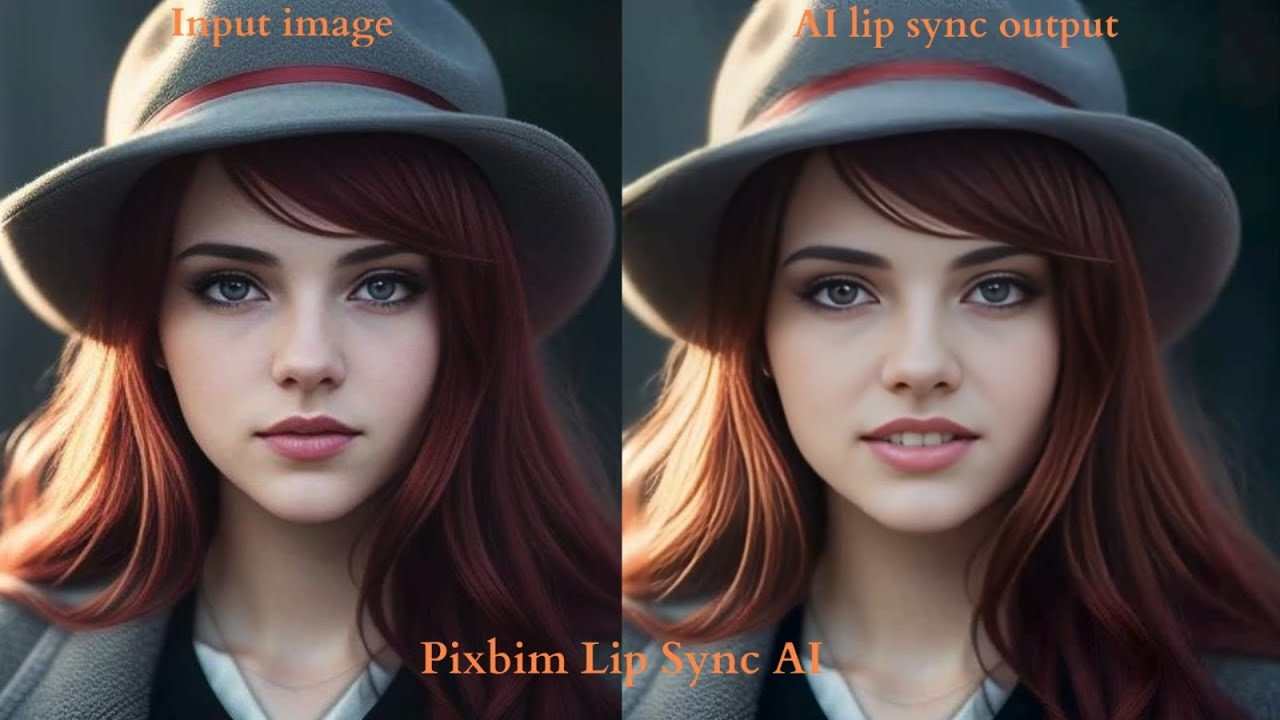
Photo animation software, essentially a digital tool to bring still images to life. It can use the tweens for animating not just stuff like camera moving, elements like clouds or fake water, but also includes a functionality for turning portraits in an amazing style into blinking eyes, head turning, and lip sync.
Modern picture animation tools, however, rely on AI-powered automation and user-friendly controls, unlike traditional video editing programs with intricate timelines and layers. This allows you to create a stunning animation in minutes instead of hours.
Why Animate Your Pictures?
Not only is animation on your images a fun way to improve engagement, but it can also support your storytelling. Picture animation software is adequate, even though it may sound like a false service.
Social Media Impact: animated visuals among a busy feed
Marketing Interest: Attracts more eyes to ads and product shots
Emotional Storytelling: Gives a sense of mood and energy.
Creativity: Move imaginative ideas into motion with ease.
Pixelfox — Picture Animation Software
Pixelfox is a great option for people who want to combine ease of use with professional results from their photo animation software. Using its AI-powered platform, it allows users to easily create and replicate some True or beautiful animations on every image without any hard editing.
Pixelfox Is Over and above sequential ordering.
AI Motion Mapping: Uses AI to identify objects in the video and then maps them with motion similar to how they would move.
Realistic Effects: Water Ripple, Trees sway, and Clouds move.
Portrait Animation will animate a face with your choice of blinking, smiling, or talking effects.
One-Click Templates: Select animation styles already made for fast outcomes.
Beginner Friendly: You do not have to draw or animate!
Pixelfox Photo Animation Software Features
AI Object Detection
Recognizes elements in the photo (e.g., sky, water, or faces) and adds selective animations
Custom Motion Paths
Sketch movement lines yourself for crafting element flows or shifts the way you want.
Looping Animations
Produce continuous, smooth loop animations for social media or GIFs
Multiple Export Formats
Export and Share Your Animated Pictures as GIFs, MP4 Video, or WebM files.
Free & Paid Plans
Its free trial will help you check how it works with basic animated tools and later on upgrade for advanced features at a higher price.
Picture Animation Program Utilization Options
You can use photo animation in any personal or professional project.
Posts: Engaging profile pics, animated stories, and posts.
Product Promos: Use Sparkling-Zooms type animations on various functionalities on your product
Event Invites: Add animation to digital invites.
Photography Portfolios: Evolve your gallery with depth and originality.
Family Pictures: Animate family photos with tender, emotional movement.
Animate Your Photo With Pixelfox
With Pixelfox, creating animations is simple and intuitive.
Upload Image: Select a photo to upload (best if high-resolution)
Choose Animation Mode: Select from available animations or draw your custom path.
Modify effects: Control speed, direction, and looping options.
Preview Animation: View changes in real-time before committing
Export & Share: Export to your format of choice and publish directly to your channels.
Photo Animation vs Video Editing
Both create motion with visuals, but photo animation software is used to add movement to individual images as opposed to editing an entire clip. This makes it:
Quicker to make: No multi-clip timelines to deal with.
Quick to Load: It is easy on resources, making it compatible with most devices, even those without high hardware capabilities.
Still More Creative: Preserves the artistic essence of your photo and enhances it with subtle or dramatic effects.
Tips for Stunning Photo Animations
Begin with a sharp image to keep overall clarity post animation.
Subtle movements to create a natural and cinematic look
Uniquely designed connected animations like moving clouds and water ripple effect.
Use the mood of that image to animate accordingly.
Final Thoughts
With the help of the right photo animation software, a rather regular picture would transition into an engaging visual story. Tools like Pixelfox make it simple for everyone, from a beginner to a professional turn your Image into a Live Photo in seconds.
With the creativity and speed that picture animation software like Pixelfox offers, you can improve your social media posts, create unique marketing materials, or just experiment with motion effects.